
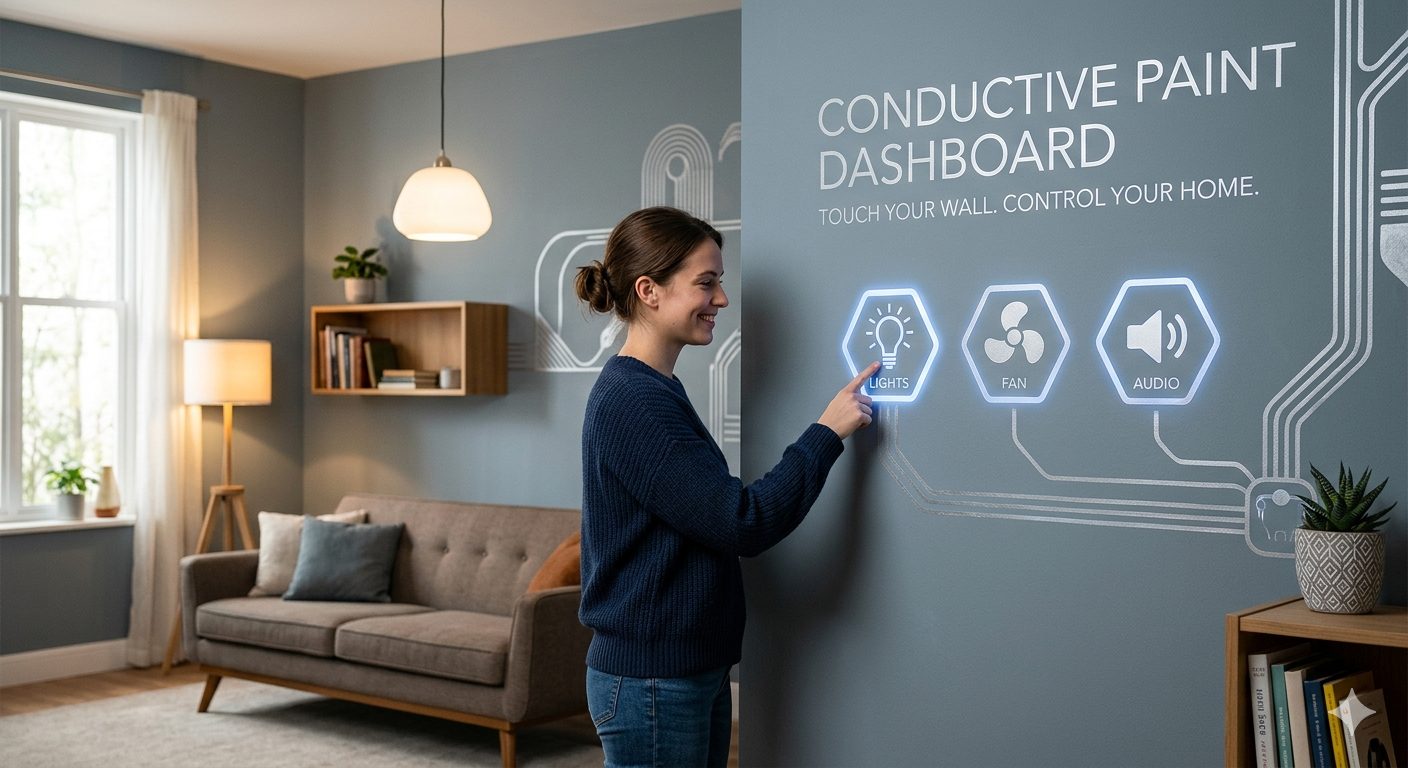
Conventional switches are functional, but they break the visual flow of a room. Conductive paint is a specialized medium infused with Carbon or Silver particles, allowing it to carry a low-voltage electrical signal just like a copper wire.
🛠️ The Essential Toolkit
To pull off this futuristic DIY project, you will need:
- Conductive Paint: (e.g., Bare Conductive or similar graphite-based paints).
- Microcontroller: An Arduino or ESP32 (the “brain” that senses the touch).
- Relay Module: The bridge that safely switches your high-voltage appliances (Lights/Fans).
- Connecting Wires: To link the paint traces to your hardware.
- Stencils: To create clean, professional-looking icons or shapes.
- Top Coat: Standard wall paint or varnish to protect the interactive area.
🚀 Step-by-Step: Turning Drywall into a Dashboard
1. Design and Mapping
Decide where you want your “hotspots.” Use masking tape or stencils to create icons (like a bulb for lights or a blade for the fan). Pro Tip: Keep your designs at a natural hand-height for ergonomic use.
2. Painting the “Circuit”
Apply the conductive paint within your stenciled area. You must also paint a thin “trace” (a line) from the icon to a hidden corner or behind a baseboard where your microcontroller will be housed. This acts as your invisible wiring.
3. The Tech Hookup
- Attach a wire to the end of your paint trace using a small screw or conductive adhesive.
- Connect this wire to the Capacitive Touch Pin of your Arduino.
- When a human finger touches the painted area, it changes the electrical capacitance. The Arduino detects this change and triggers the Relay.
4. Camouflage and Finish
Once the conductive paint is completely dry, you can paint over it with a thin layer of regular wall paint. It will remain touch-sensitive even through the top coat, making the “switch” completely invisible to the naked eye.
🌟 Why Upgrade to Conductive Walls?
- Seamless Aesthetics: Maintains a minimalist interior without the clutter of plastic switchboards.
- Infinite Customization: Your buttons can be any shape—a logo, a star for a kid’s room, or abstract geometric art.
- Accessibility: Large touch zones are much easier to operate for the elderly or people with limited mobility.
- Safety: The wall surface only carries a tiny, harmless sensing voltage (usually 5V or less).
⚠️ Important Safety Warning
Safety First: Never connect conductive paint directly to your home’s 220V/110V mains. The paint is only meant to carry a low-voltage signal to a controller. The actual high-power switching must happen inside a safe, enclosed Relay Module.
Leave a Reply