

Painting crisp, clean edges without the hassle of painter’s tape might seem like a daunting task, but with the right techniques and a bit of practice, you can achieve professional-looking results. The “cut-in” technique is a fundamental skill for any painter, allowing you to create sharp lines where walls meet ceilings, trim, or other wall colors.
Here’s how the pros do it, along with some attractive headings and bullet points to guide you:
The Essential Tools for a Flawless Cut-In
Having the right equipment is the first step to success. Don’t skimp on quality when it comes to these crucial items:
- High-Quality Angled Sash Brush: This is your most important tool. Look for a brush with soft, flagged bristles and a comfortable handle. A 2.5-inch or 3-inch brush is often ideal for most cut-in work.
- Pro Tip: Natural bristles are great for oil-based paints, while synthetic bristles are best for latex (water-based) paints.
- Premium Paint: Quality paint provides better coverage and a smoother finish, making it easier to control.
- Paint Pail or Small Container: This allows you to carry a manageable amount of paint, preventing drips and making the brush easier to load.
- Wipe Cloths/Rags: Essential for cleaning excess paint from your brush and for quick clean-ups of any accidental drips.
- Stir Stick: To thoroughly mix your paint before starting.
Preparing for Perfection: Setting Yourself Up for Success
Proper preparation is key to achieving a clean cut-in. Don’t rush this stage!
- Clean the Surfaces: Dust, dirt, and grime can interfere with paint adhesion and create an uneven line. Wipe down all surfaces thoroughly.
- Ensure Good Lighting: You need to clearly see where your brush is going. Natural light is best, but a good work light can be invaluable.
- Stir Your Paint Thoroughly: This ensures an even consistency and color.
- Load Your Brush Correctly:
- Dip your brush about 1/3 to 1/2 of the way into the paint.
- Gently tap (don’t wipe) both sides of the brush against the inside of your paint pail to remove excess paint. The bristles should be loaded but not dripping.
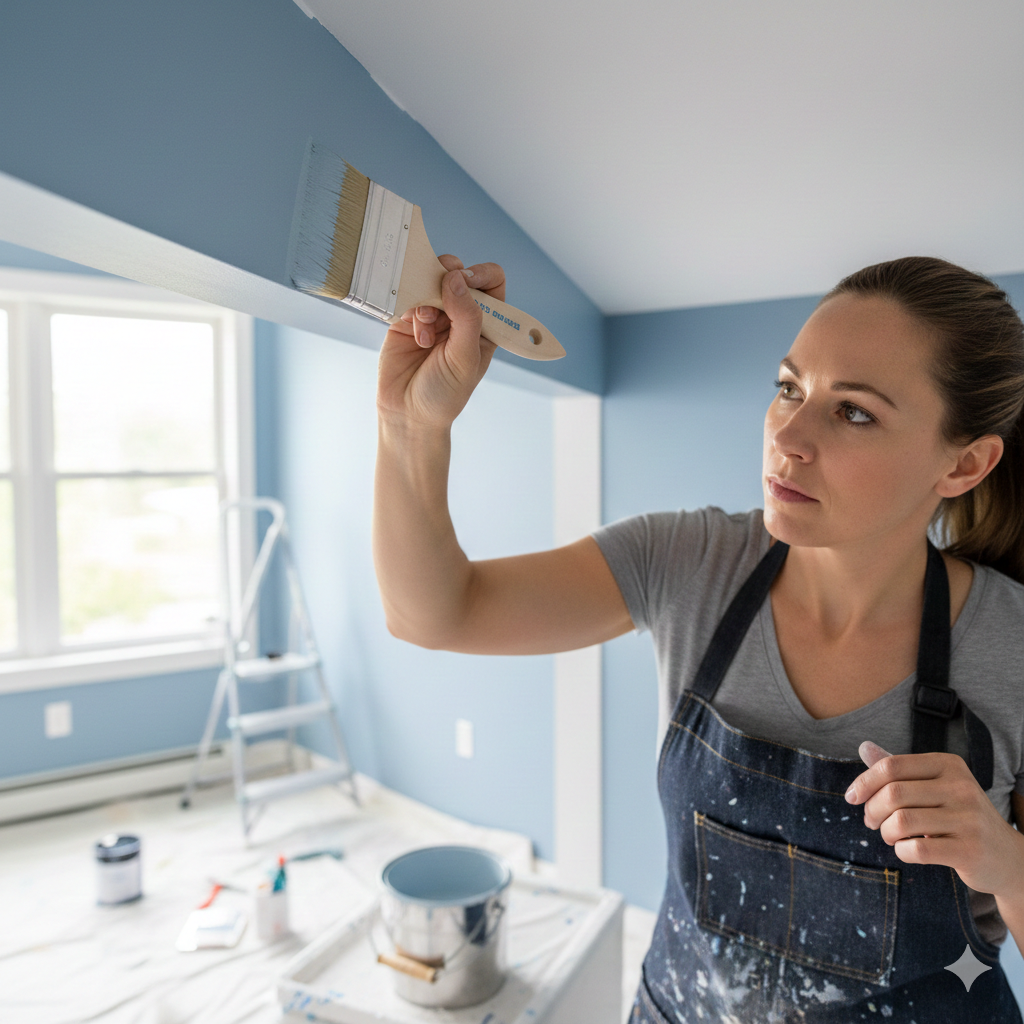
The Art of the Cut-In: Step-by-Step Technique
This is where the magic happens! Follow these steps for a controlled and precise application:
- Find Your Stance: Position yourself comfortably so you can maintain a steady hand. Use your non-painting hand to brace yourself or lightly touch the wall for stability if needed.
- Start Away from the Edge (Initial Stroke): Begin your paint stroke about an inch or two away from the edge you’re cutting in. This allows you to “fan out” the paint evenly.
- Glide Towards the Edge (The Cut):
- With light, consistent pressure, slowly glide the bristles towards the edge.
- As you approach the edge, gently increase pressure on the side of the brush closest to the line, allowing the bristles to flex and form a thin, straight line of paint.
- Crucial: Use the very tip of the brush, not the broad side, to make contact with the precise line.
- Maintain a Wet Edge: Overlap your strokes slightly to avoid visible lap marks. Work in small sections, typically 2-3 feet at a time, to keep the paint wet.
- Long, Smooth Strokes: Avoid choppy, short strokes. Longer, more controlled strokes will result in a straighter, cleaner line.
- Don’t Overwork the Paint: Once the paint is applied, resist the urge to keep brushing it. This can lead to brush marks and an uneven finish.
- Clean Your Brush Regularly: As paint accumulates on the ferrule (the metal part of the brush), it can become difficult to maintain a clean line. Wipe excess paint from the ferrule and bristles with your cloth as needed.
Practice Makes Perfect: Tips for Improving Your Skill
Like any skill, mastering the cut-in requires practice and patience.
- Start in a Less Conspicuous Area: If you’re new to this, begin in a closet or a less visible corner to build your confidence.
- Use a Practice Board: Get a scrap piece of drywall or wood and practice drawing straight lines with your brush.
- Slow and Steady Wins the Race: Don’t rush! Deliberate, controlled movements are far more effective than fast, sloppy ones.
- Experiment with Pressure: Learn to feel how different amounts of pressure affect the paint line.
- Watch Professional Painters: Online videos can offer valuable visual guidance on technique.
With these professional secrets and a little dedication, you’ll soon be painting perfect edges like a seasoned pro, all without a single strip of painter’s tape!
Leave a Reply